Anna Peterson Details Cyanotype Process for Wood Finishing
Woodworker Anna Peterson explains her method for applying cyanotype photographic prints to wood, covering preparation, exposure, and rinsing to manage wood
Swedish woodworker Anna Peterson has shared her technique for imprinting floral patterns onto wood using the historic cyanotype photographic process. The method, invented in 1842, uses sunlight to activate iron salts on the wood's surface, creating permanent blue prints from the shadows of physical objects like pressed flowers.
While common on paper or fabric, applying cyanotype to wood presents unique challenges centered on water management. Peterson notes the core chemical reaction remains the same: a two-part solution of ferric ammonium oxalate and potassium ferricyanide is applied, a mask is placed over it, and UV exposure turns the activated areas a vibrant Prussian blue. The non-activated solution then rinses away with water.
Preparing the Wood Surface
Wood movement and grain raising are the primary concerns. Peterson advises planning for a post-rinse flattening strategy. She masks end grain and unprinted areas with tape and plastic, uses water-resistant glue, and leaves room for warping. On one cabinet, glued before printing, seams opened and a door warped, requiring refitting.
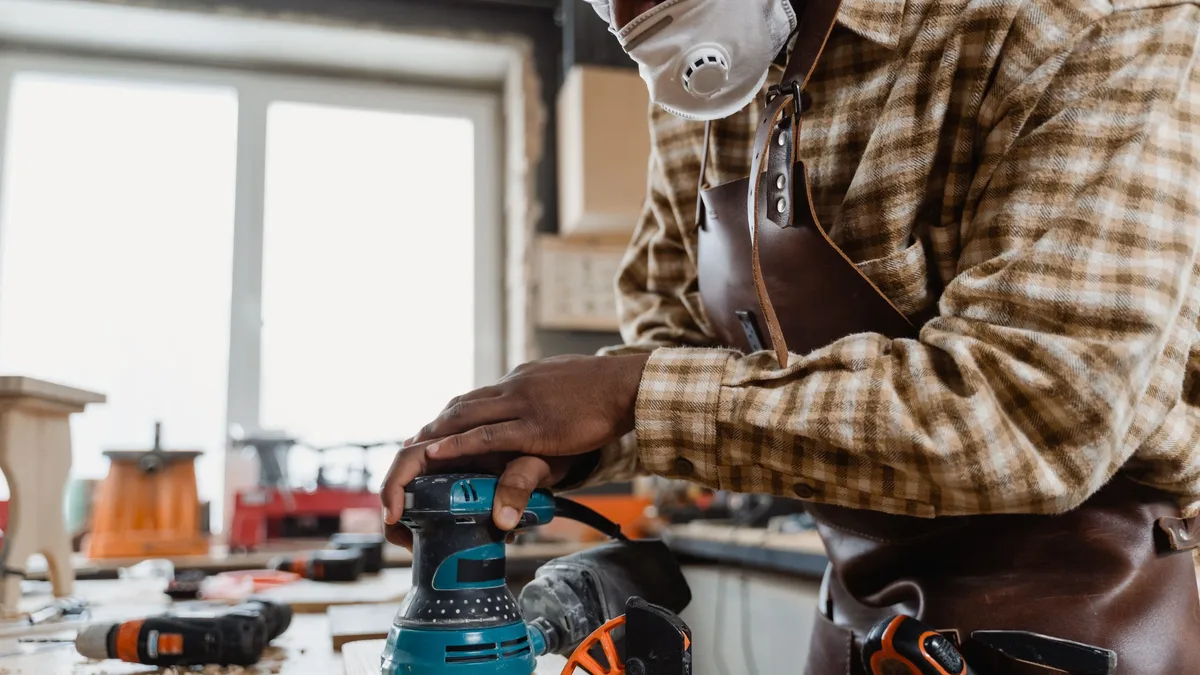
Both the water-based solution and the final rinse will raise the wood grain. Sanding after the process risks scrubbing away the print. To prepare, Peterson lightly wets the surface and sands it several times after drying, working up to 220 grit. This pre-raises and smooths the grain before the solution is applied.
Choosing a light-colored wood like birch provides good monochromatic contrast for the blue image. Peterson found most wood whiteners resisted the cyanotype solution. The natural grain remains visible through the final print, an effect to consider when placing the mask.
Creating and Applying the Mask
The mask can be anything that casts a shadow, from digital prints on acetate to physical objects. For crisp edges, close contact with the substrate is key. Peterson pressed her wildflowers flat for a week beforehand. For a complex design on a curved surface, she worked in daylight, sticking flowers to a packing-tape "skin" shaped to her cabinet, then wrapped the piece in darkness.
Application follows standard cyanotype steps. The two-part solution is mixed per product instructions and applied with a foam brush. The piece must dry completely in a dark room before the mask is placed and it is brought outside for UV exposure. Peterson was generous with the solution and saw no benefit to multiple coats. The wet solution should appear a sickly green, darkening slightly as it dries; a blue tint indicates premature activation. A significant advantage on wood is the ability to sand back and restart.
Exposure, Rinsing, and Final Finish
Exposure time depends on testing. Peterson advises using test pieces of wood sanded and shaped like the final project. She used the sun, timing strips, and her phone's UV index feature, writing both the index and exposure time on test pieces to dial in the correct combination.
After exposure, the mask is removed and the piece is rinsed in cold water until it runs clear. Any remaining solution will continue to activate. Rinsing, not scrubbing, is critical. The contrast improves as the wet, darkened wood dries. An optional rinse with 3% hydrogen peroxide speeds oxidation, delivering the deep blue color immediately instead of over several days.
After drying, Peterson removed residual grain hairiness by lightly buffing with a brown paper bag. This also prevented solution from soaking too deep, where it might not rinse out and could keep activating. For a final finish, she avoided yellowing oils and simply buffed the surface with paste wax for a glow. The blue color is now lightfast, though UV light will continue to affect the wood itself, darkening light woods and lightening dark ones over time.