Leather Scabbard: Trimming and Riveting
A guide on finishing a custom leather tool scabbard, covering edge trimming, hole punching, and setting solid copper rivets for permanent reinforcement.
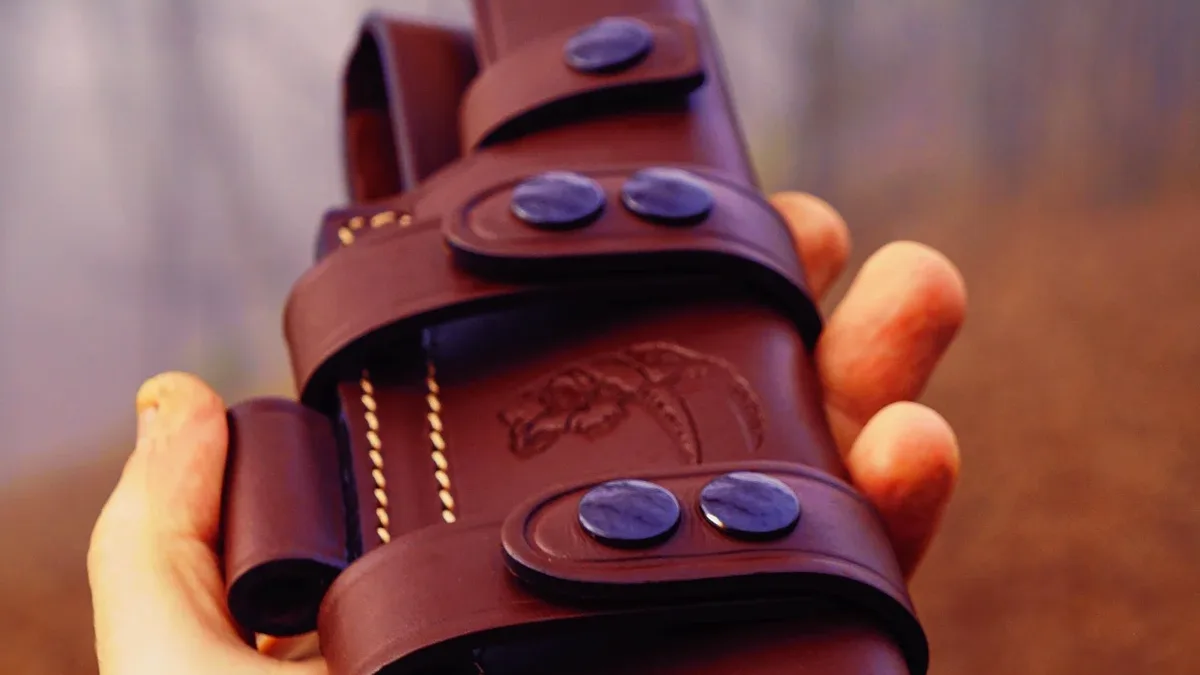
After the glue on a three-layer leather scabbard has fully cured, the first step is trimming the perimeter. Using a sharp scalpel or utility knife held against a steel ruler, slice along the glued outer edges to make them perfectly straight and square. This ensures layout marks for rivets are measured from a true edge and gives the scabbard a crisp, professional finish.
With the edges squared, the scabbard is ready for permanent mechanical reinforcement with solid copper rivets and burrs, or washers. For a project built to house a wide gouge, the source installed five rivets. Two run down each side of the scabbard body, and one is centered at the front nose of the blade cavity. That front rivet acts as a bulletproof stop to prevent the cutting edge from poking through. Copper is softer than hardened tool steel, so it acts as a soft, safe bumper if the tool contacts it inside the pocket.
Punching Clean Holes
The process begins by marking the five rivet locations onto the leather. The bonded scabbard should be placed over a piece of scrap hardwood or a dense plastic cutting board to protect surfaces.
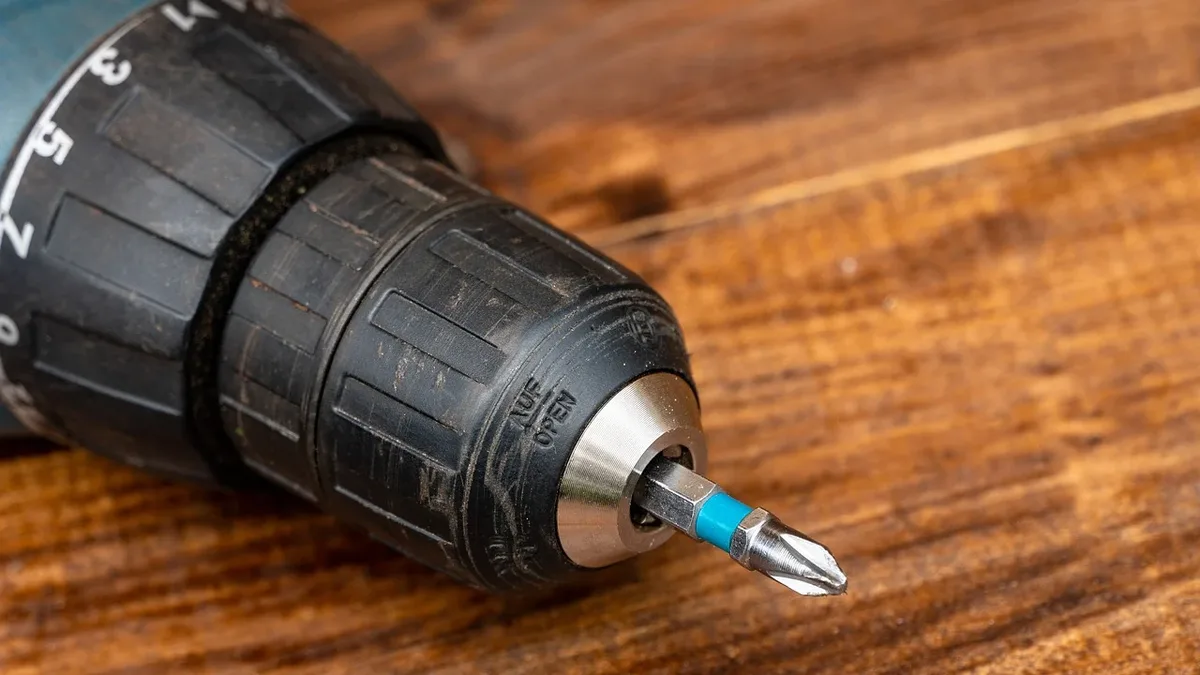
The source notes that budget rivet sets often include a slightly dull hole punch. To get a razor-sharp edge for cutting clean circles through multi-layer leather, chuck the punch into a cordless drill or drill press. Spin the tool and hold a fine diamond stone or small file against the outer bevel. To clear the internal burr, wrap 600-grit sandpaper around a thin nail or wire and smooth the inner bore. Position the sharpened punch over the marked locations and strike it cleanly with a mallet to pierce all three layers.
Setting the Burrs and Trimming
Push the long shaft of a copper rivet through the hole from the back side of the scabbard. Drop a matching copper burr over the protruding post on the front face. The burr is sized for a tight friction fit and won't slide down by hand, so it must be driven into place.
A dedicated setting tool can be placed over the copper post and struck with a hammer to press the burr flat. An improvised method uses a small metal tube or a block of hardwood with a drilled hole. To trim the excess copper post for peening, place a loose, oversized steel washer over the set copper burr as a temporary spacer. Rest flush-cut nippers flat against that spacer washer and snip off the shaft. The source states this leaves about 1/32" of copper post above the burr surface, depending on rivet diameter.
Peening the Rivet Head
To lock the assembly, the trimmed copper post must be mushroomed over the burr. Place the flat head of the copper rivet against a hard counter-surface like a machinist's vise anvil or a heavy steel plate. A wooden workbench absorbs too much impact.
A matching concave dome on a setting tool can be placed over the snipped post and struck firmly with a hammer. The source also describes a freehand method using a small ball-peen or cross-peen hammer. Begin with light, controlled strikes at a slight angle around the outer rim of the exposed stem. Work around the entire perimeter in a circular pattern, striking downward and outward to flare the copper over the burr edges. Alternate these rim shots with occasional direct, flat hits to the top of the stem. This repeated light tapping expands the soft metal into a smooth, mushroom-shaped crown.
A Note on Heritage Tools
The combination rivet tool featured in the source, with both a through-hole to set the burr and a concave recess to dome the post, is a classic design. The source attributes this design to companies like C.S. Osborne & Co., which has manufactured high-quality leatherworking tools in New Jersey for nearly two centuries. The source states these rivet setters are well worth adding for those who appreciate heritage American toolmaking. Otherwise, basic imported sets are widely available online for a fraction of the cost and will work nicely once tuned.