Woodturner's Guide to Painting Lathe-Made Ornaments
A guide details the process of painting spindle ornaments on a lathe, while a woodworker outlines the setup of a compact home workshop centered on a combination machine.
Two distinct stories from the world of furniture making offer insights into craft and workspace. The first provides a technical guide for applying painted finishes to woodturned ornaments directly on the lathe. The second details how a professional woodworker equipped a 247-square-foot home shop for versatility, with a combination machine as its centerpiece.
Painting Turned Ornaments
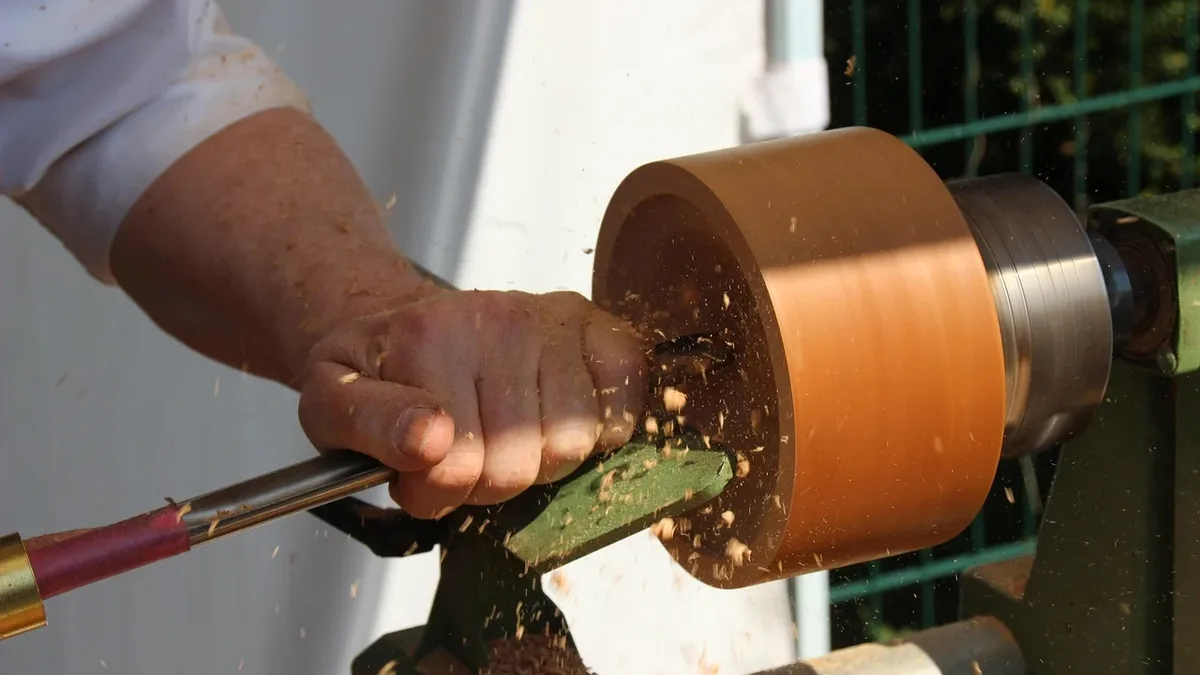
A woodturner has outlined a method for painting decorative spindle ornaments directly on the lathe. The process uses acrylic paint and requires specific brush selection and lathe speed control for successful application. The author recommends good-quality synthetic-bristle angled shader brushes, costing about seven to ten dollars, in quarter-inch or half-inch sizes depending on the work area.
Proper technique is critical. The painting should be done on the top of the rotating workpiece as it turns away from the craftsperson. Lathe speed must be reduced drastically to between 50 and 100 rpm for an even coat; if the machine lacks variable speed, the author suggests painting as the lathe slows down after being switched off. The paint must be applied quickly and accurately, as mistakes are difficult to fix. The key is to load the brush correctly-dipping it in water first and squeezing out excess-to have enough paint to cover the circumference without losing control. Clean edges are achieved by laying down a small bead of paint and pushing it to the desired boundary.
Once painted, the ornament should dry for at least a few minutes. Finishing can be done with a soft wax applied and buffed while the piece is still mounted, though care must be taken as the paint remains soft. Alternatively, the piece can be removed to dry overnight before final finishing and parting off. The author notes that burning lines into the wood before painting helps create crisp edges for the colored areas.
A Compact Home Workshop
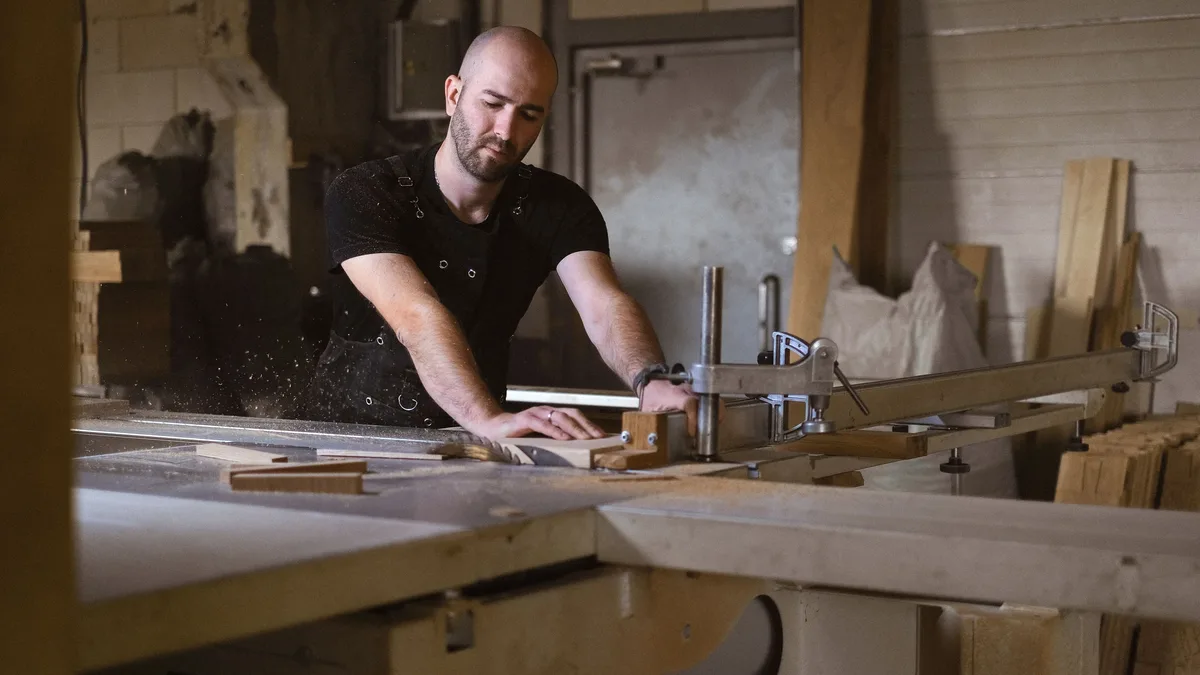
Neal Walden, a professional with 25 years in architectural millwork, has established a fully-equipped home woodshop within a 247-square-foot garage. The space was renovated to include proper insulation, wall paneling, and flexible lighting before being outfitted with machinery and storage. The centerpiece of the shop is a 1990s-era Robland X31 combination machine.
This single machine incorporates a sliding table saw, a 12-inch jointer and planer, a 1-1/4-inch shaper, and a horizontal mortiser. Walden designed a custom mobile base for the Robland, allowing it to roll or spin to accommodate different workflows. He enhanced its functionality with aftermarket stock-support tables from Aigner and custom brackets for extended table support. Additional modifications include a 90-degree stop on the jointer fence and a zero-clearance insert for the table saw.
The shop's design emphasizes efficient use of space. Open trusses in the ceiling were used to run ductwork for a Nordfab dust collection system, which snaps together for easy reconfiguration, and also serve for overhead lumber storage. Storage solutions near the Robland include a custom cabinet for machine accessories, a wall panel for F-clamps, and a hardware chest with removable drawers. This setup allows Walden to maintain a hands-on connection to woodworking separate from his day-to-day business management.