Basic Relief Carving Techniques for Woodworkers
An expert woodcarver outlines the essential tools and fundamental cut sequences needed to begin relief carving, emphasizing that complex patterns stem from
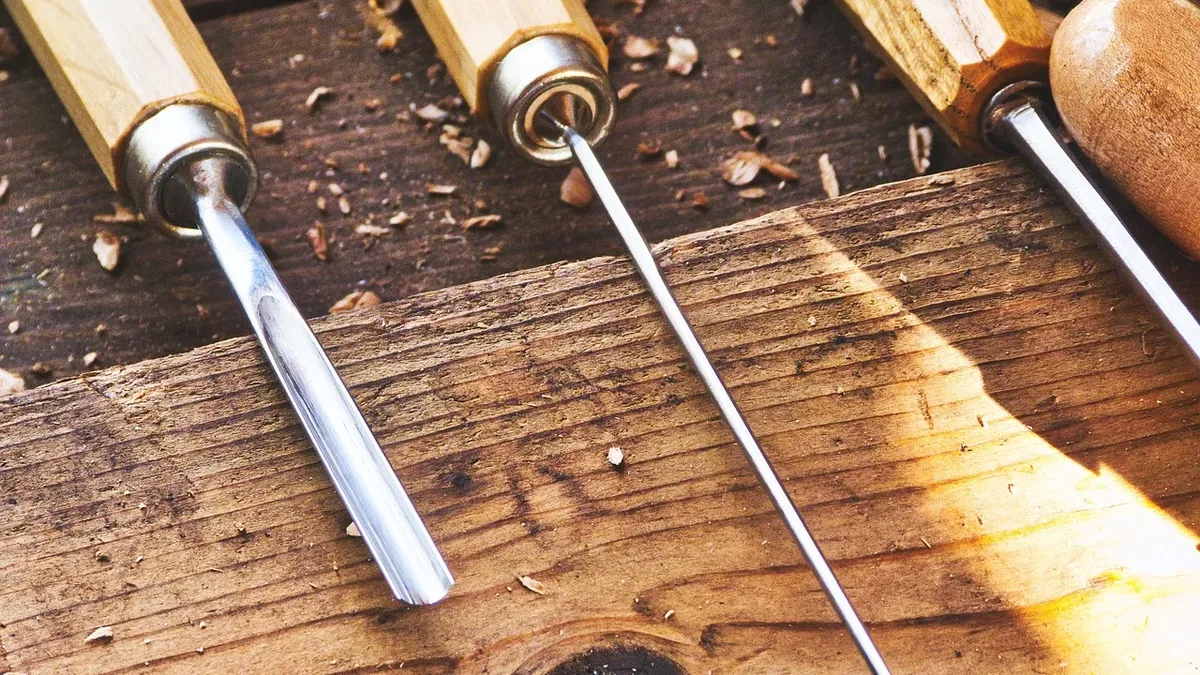
Relief carving is an ancient form of wood ornamentation built from simple cuts arranged in order. A woodcarver writing for Popular Woodworking states that many historical patterns were completed with fewer than six different tools.
Tools and Selection
There is no universal sizing system for carving tools, with brands typically assigning a number to a tool's profile and denoting its width in millimeters. The author generally cautions against buying manufacturer's sets, which often contain obscure, rarely used tools. Instead, they recommend purchasing single tools with a specific carving pattern in mind.
For those wanting new tools to start, the brand Pfeil, sometimes labeled "Swiss Made," is suggested. However, the writer strongly advocates buying second-hand tools from swaps or flea markets. They advise seeking out well-used tools with a carver's initials on the handle, which can be purchased for less than a third of the price of a new tool and, with sharpening, will last for years.
A basic starter kit for the patterns in the article, using the Pfeil numbering system, consists of five gouges.
| Tool Type | Pfeil Numbering |
|---|---|
| Gouge | 6/25 |
| V-tool | 12/6 |
| Gouge | 7/14 |
| Gouge | 2/10 |
| Gouge | 9/10 |
You will also need a mallet, described simply as "a hunk of wood you beat the end of your tools with." The author recommends a round, comfortable mallet that is not too heavy, suggesting a homemade turned version or a well-balanced model from Blue Spruce Toolworks in Ohio. For texturing backgrounds, simple punches can be made from mild steel and a file.
Foundational Cut Exercises
Before attempting a full pattern, the source describes exercises using a single gouge. The first involves dressing a bead on a practice piece. After making two opposing stop cuts straight down into the wood, a crafter makes a series of matching cuts in a row. Relief cuts are then made, starting slightly in front of each mark and following down to the bottom of the preceding stop cut. This sequence creates a row of scallops flowing from a center point, forming a carved moulding.
This same process can be repeated on a flat board to create a simple pattern. By alternating the direction of stop cuts in rows and then relieving them, a third, squiggled pattern emerges. The author notes this demonstrates how many patterns can be made with just one tool.
Carving a Decorative Panel
The article walks through carving a front panel for a box, beginning with layout. A margin line is scribed 11/16 inch in from all edges to define the carving field. This field is divided in half vertically and in fourths horizontally. Using a compass, half-circle arches are drawn at the ends and center, followed by a second set of arches drawn from the same pivot points but with the compass setting reduced by about a quarter inch.
Vertical division lines are drawn through the pivot points. Then, using the other pivot points, the drawn arches are connected to form opposing S-curves. After erasing specific interior line segments, the pencil layout is complete.
Defining and Relieving Shapes
Carving starts by defining the S-curve lines with the 12/6 V-tool. The lobes of the leaves are then defined using the 6/25 gouge to make 90-degree vertical stop cuts. Next, the 9/10 gouge makes stop cuts to define the tab-shaped lobes at the pattern's ends, top, and bottom.
With shapes defined, relief cuts are made to create the background. The 6/25 and 2/10 gouges are used to remove the waste wood, with the earlier stop cuts acting as limits. Once the background is relieved, the 7/14 gouge creates a diamond pattern in the center through four stop cuts whose relief cuts meet at a point.
The author advises practicing this diamond on scrap wood first, as it is easy to make it look squished. Finally, the 12/6 V-tool adds leaf veins, with the deepest part of each vein in the middle. The chisel work concludes with using a nail set to punch a divot in the lobes and a cross-hatch punch to texture the entire relieved background.