Dutch Tool Chest Builds Faster Than Traditional Floor Chest
A woodworker details the construction of a Dutch-style traveling tool chest, which requires far less time and material than a full-size English chest.
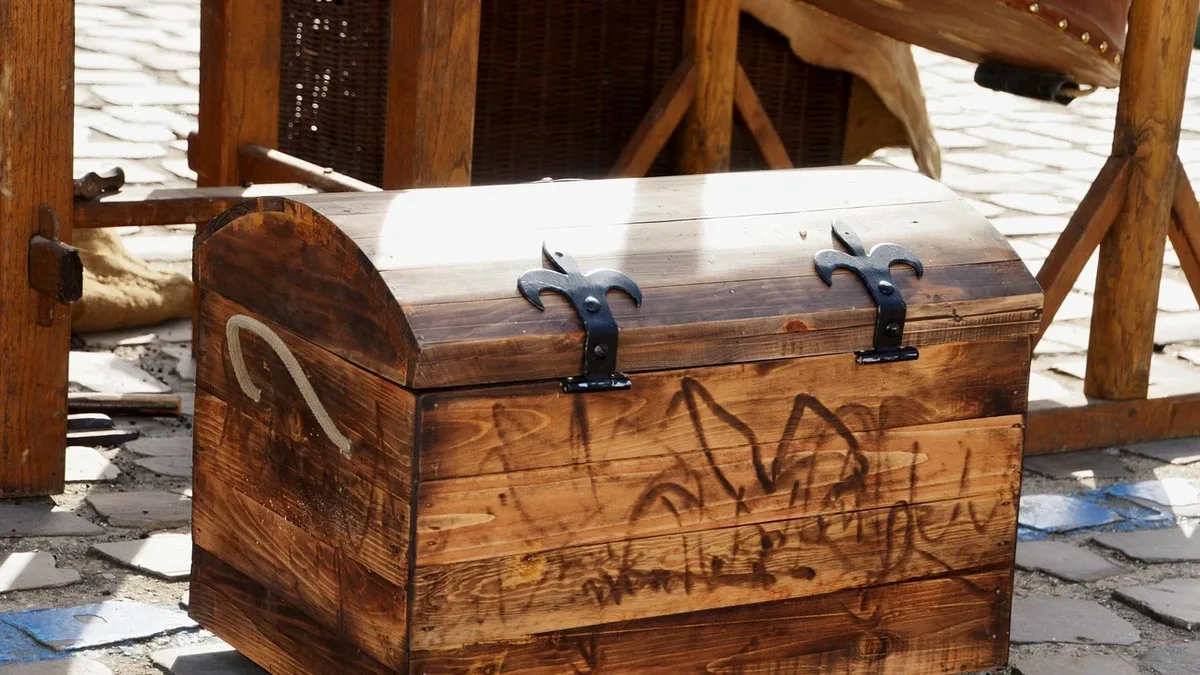
A Dutch tool chest can be built in just two days of shop time, according to a woodworker writing for Popular Woodworking. This is significantly faster than the 40 to 60 hours needed for a full-size English chest.
The author, who studied an authentic example owned by Roy Underhill, built two chests to test the design. While not as sturdy or good-looking as a quality floor chest, the Dutch version is described as stout enough and a viable option for those short on time, materials, or skills. The chests proved to be great for both shop use and travel.
Built for Speed and Simplicity
The chests are constructed from dimensional pine. The sides are 1x12s dovetailed to a bottom board. Shelves are dadoed into the sides and then secured with cut nails driven from the outside. The front and back pieces are attached with screws and glue, a method the author says is fine with dry softwood as wood movement won't be a significant problem.
The lid is attached with strap hinges and falls at a 30-degree angle. Historical accounts differ on the purpose of this angle, with some saying it keeps rain off and others suggesting it serves as a paperwork surface.
The most unusual feature is the fall-front. It has two battens that lip behind the carcase's bottom lip, acting like a primitive hinge. A sliding piece of wood threads through the carcase and catches on the fall-front, locking it in place when the lid is closed. The author calls this "a clever precursor to the locking mechanism of machinists’ tool chests."
Construction Sequence
Construction begins with the hardest part: the joinery. After cutting the sides and bottom to length, the author recommends cutting the dovetail tails on the sides and the pins on the bottom for maximum strength, even if the glue fails.
Next, dados are cut for the shelves. The author typically cuts these by hand without a guide but offers a method using a clamped batten as a saw guide for those attempting their first handmade dado. A router plane is used to finish the bottom of the dados, ensuring they are all the same depth to keep the chest square.
The top edges of the chest sides are cut at a 30-degree angle. The recommended method is to clamp the sides together, lay out the angle, and saw through both pieces at once. After sawing, the pieces are planed smooth while still clamped together to ensure the cut is 90 degrees to the faces.
Assembly and Final Details
After a dry-fit, glue is applied to the dovetails and the corners are assembled. Glue is also put in the dados before the shelves are driven in. Clamps are applied across the shelves until the glue sets, after which the shelves are nailed in place with cut nails. Notches for the sliding lock are then cut into the shelves and bottom board, all of which must line up vertically.
The front, lower lip, and back are screwed onto the carcase. The front and the top backboard require a 30-degree bevel on their top edges. The backboards should be shiplapped or tongue-and-grooved. Skids are added to the underside of the bottom to prevent wear; their corners are beveled to make the chest easier to drag.
To make the fall-front, battens are screwed to its back so they protrude half an inch beyond the bottom edge. These battens keep the front flat and grab the carcase's lower lip. Catches are then added to the back of the fall-front to receive the sliding locks. The sliding locks themselves are made from quarter-inch-thick material, threaded through the notches and catches to test fit, and then a one-inch-diameter hole is bored near the top of each for easy removal.
Customization and Finish
The author notes there are "no hard-and-fast rules" for detailing. Additions like beads, rabbets, and thumbnail moulding are optional. The lid can be kept flat with internal battens or breadboard ends.
The traditional exterior finish is paint, often a chalky blue. The author used black milk paint for its durability, not historic accuracy. Strap hinges and a hasp are needed for the lid. Hardware can be store-bought or custom-made; the author used pieces from blacksmith John Switzer of Black Bear Forge, noting they cost more but look incredible.