Peter Follansbee Details 17th-Century Drawer Joinery
Woodworker Peter Follansbee outlines the mixed joinery and construction techniques for side-hung drawers in a 17th-century-style cupboard, based on his new
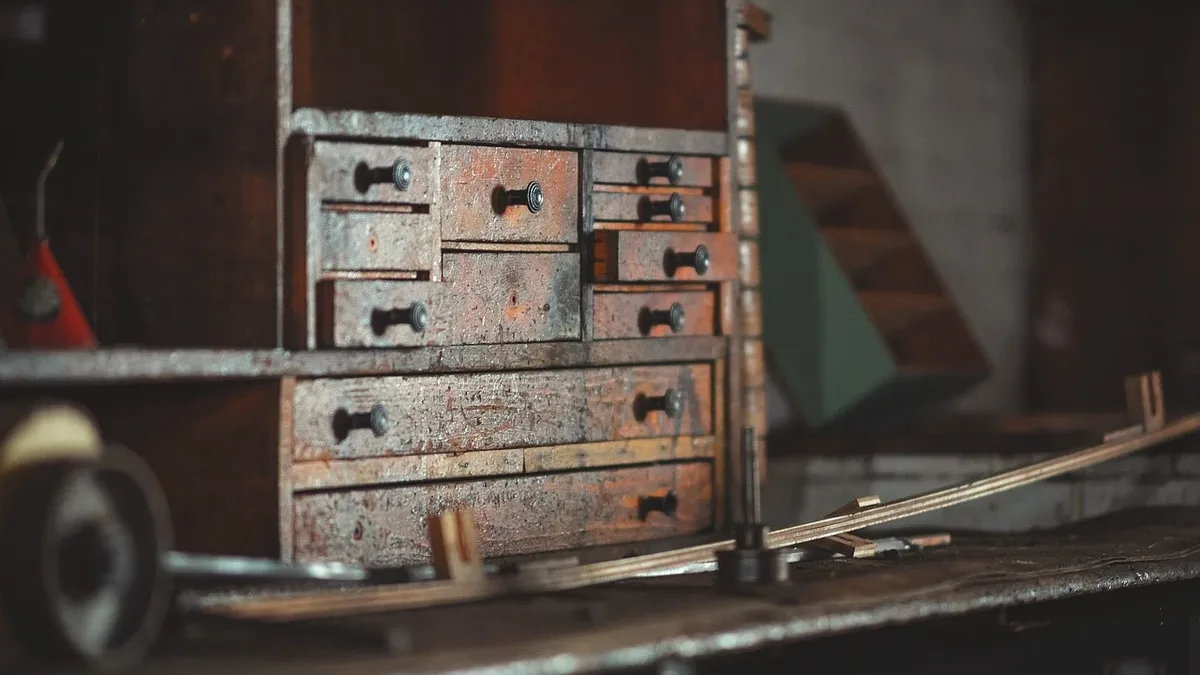
Woodworker Peter Follansbee describes making side-hung drawers for a 17th-century Essex County cupboard as a fun challenge. The process, detailed in his latest book, involves a mix of dovetail and rabbet joints that might puzzle modern makers.
Follansbee uses radially riven and planed stock for the drawers, ensuring the sides are clear and dry. After sizing the drawer fronts to their openings in the assembled case, he adds decorative mouldings, turnings, or carving.
Drawer Construction and Joinery
The drawer construction defies modern expectations. Three of the drawers use half-blind dovetails to join the sides to the fronts. The backs are attached with rabbet joints and nails, except for the deepest drawer, which features through-dovetails at both the front and back.
Follansbee notes the historical inconsistency. "Some of the related cupboards used dovetails in the drawer fronts; most just used nailed rabbets," he writes. This variation, he suggests, gives contemporary makers plenty of leeway.
The deep drawer, at 7-1/4 inches, has two tails on its sides, while the shallower drawers have only one. The key difference is the deep drawer's through-dovetails versus the half-blind joints on the others.
Grooving and Assembly
Plowing the groove for the drawer bottom in the sides comes before laying out the dovetails. Follansbee arranges the tails so the groove runs through one. This groove's placement must align with the notches in the case stiles for the drawer runners. He states the order of operations does not matter, but agreement between the groove and notches is critical.
Assembly is straightforward. He nails the rabbet joints and, out of habit, also glues the dovetailed joints, noting some period examples imply glue was used. He warns to ensure nail heads do not protrude, often hollowing an area with a gouge to sink them. After assembly, two saw cuts open the groove through the drawer's ends, and the waste is knocked out with a chisel and mallet.
Drawer Bottoms and Installation
Seventeenth-century drawer bottoms varied widely in material and orientation. For this project, Follansbee used riven oak boards, each a bit less than 1/2 inch thick. The available log yielded boards 6 to 9 inches wide, requiring about five or six boards per drawer. These boards butt together using a V-shaped joint, similar to the cupboard's floorboards.
The bottoms are finished on one face and rough-planed. Installation starts with the outer boards at each end, which need one edge and the front end squared. The drawer is flipped upside down, the bottom placed in the rabbet and flush with the side, and the overhanging portion at the back is scribed for trimming. The same V-groove technique used elsewhere is applied. Finally, the bottoms are nailed to the drawer sides, back, and into a rabbet in the front, a process that consumes many nails.