Red Oak Boarded Box Uses Traditional Joinery
A woodworking project builds a 17th-century-style boarded box from quarter-sawn red oak using rabbet joints, wooden pins, and hand-forged nails.
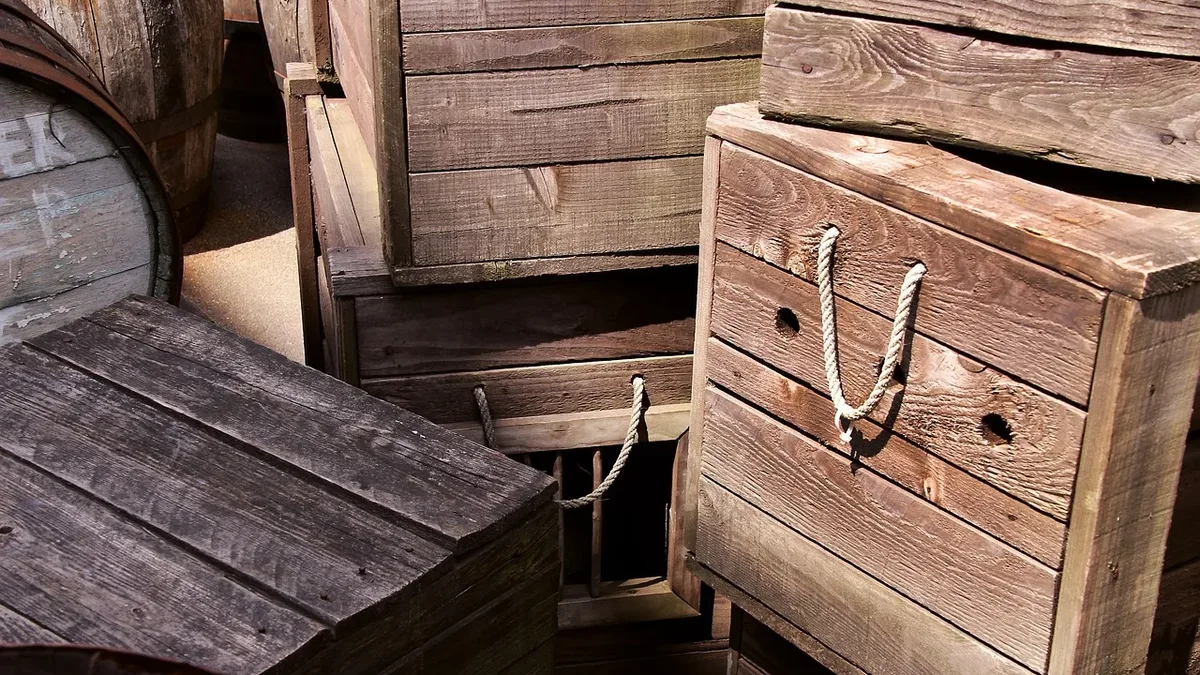
Red oak boarded box is a practical woodworking exercise. The project focuses on construction techniques reminiscent of 17th-century British and New England examples, using basic tools and skills.
Such boxes were common everyday objects for holding valuables. They often featured simple relief carvings, achievable with only three or four carving tools. The author notes that carving into a quarter-sawn, or radial, face is easier than a tangential one, as waste chips fall away cleanly with less tear-out.
Material Preparation and Joinery
The author mills stock to 5/8-inch thickness. After cutting parts to size, edges are cleaned up with a hand plane. Chamfers are planed on the lid and base pieces. The main joinery for the box is a rabbet cut into the front and back panels to receive the side pieces.
This rabbet is set 5/8 inch in from the ends and is 5/16 inch deep, which is half the stock's thickness. When dry-fit, the assembled box exterior measures 6 inches tall, 13 inches long, and 7-1/8 inches wide.
Assembly and Pinning
Assembling the rabbet joints requires special attention due to the high proportion of end-grain surface area. The author practices "sizing" the joint. This involves applying a thin coat of glue to the end grain of the side pieces and the rabbets, letting it soak in until it looks dry, then applying a second coat to the end grain before clamping.
"This double application of glue on the end grain allows plenty of glue to wick up the end grain, ensuring the joint is not starved of glue," the author explains. This is deemed especially important for porous woods like red oak.
Once the glue dries, the top and bottom edges are trued with a hand plane. The rabbet joints are then reinforced with square wooden pins, or trunnels. Holes are drilled 1 inch deep with a 1/4-inch bit, then squared with a tapered punch. Square pin stock is ripped on a bandsaw slightly larger than 1/4 inch and cut into 1-1/4-inch lengths.
Two faces of each pin are tapered for about 3/4 of its length to ease insertion. The pins are driven home with a small amount of glue, leaving 1/4 inch proud of the surface. This proud end is then carved into a square pyramid shape with a knife. A final roundover is planed on the top outside corner of the box's back.
Attaching the Base and Lid
The base is attached with nails. The box body is centered on the base, and its position is marked. Nail locations are marked so they will hit the center of the box's 5/8-inch thick edges: three nails into the front and back, and one into the center of each end.
A 1/8-inch hole is predrilled from the top of the base through to the bottom to mark locations. From the bottom, 1/2-inch counterbores are drilled deep enough to recess the nail heads. The author prefers 35 mm Rivierre nails or those from a local blacksmith for a hand-forged look. The base is clamped, and 1/8-inch pilot holes are drilled into the box sides before driving the nails home.
Making Wooden Pintle Hinges
The lid is attached with simple wooden pintle hinges. The pintle, or pin, is made from a 3/8-inch diameter hardwood dowel, with hard maple preferred for its smooth wear surface. A square blank is tapered at one end and driven through a dowel plate to reach the 3/8-inch diameter, then cut into two 2-inch pins.
The gudgeon, or batten, component is cut to shape. It is attached to the lid with modern brass screws. A 3/8-inch hole for the pintle pin is drilled in the batten, positioned to center the pin in the 5/8-inch thick back wall of the box.
The battens are clamped to the box sides, and their holes are used as guides to drill 1-inch deep, 3/8-inch holes into the box for the pins. The pins are glued into the box. The battens are slid onto the pins, which are marked and cut to leave 1/4 inch proud of the batten; the ends are then faceted for texture. The lid is installed by sliding the battens onto the pins and screwing them in place.