Upholstering an Arm Chair with a Waterfall Cushion
A woodworking guide details the process for creating an integral, waterfall-style upholstered cushion for a large armchair or Morris chair, contrasting it
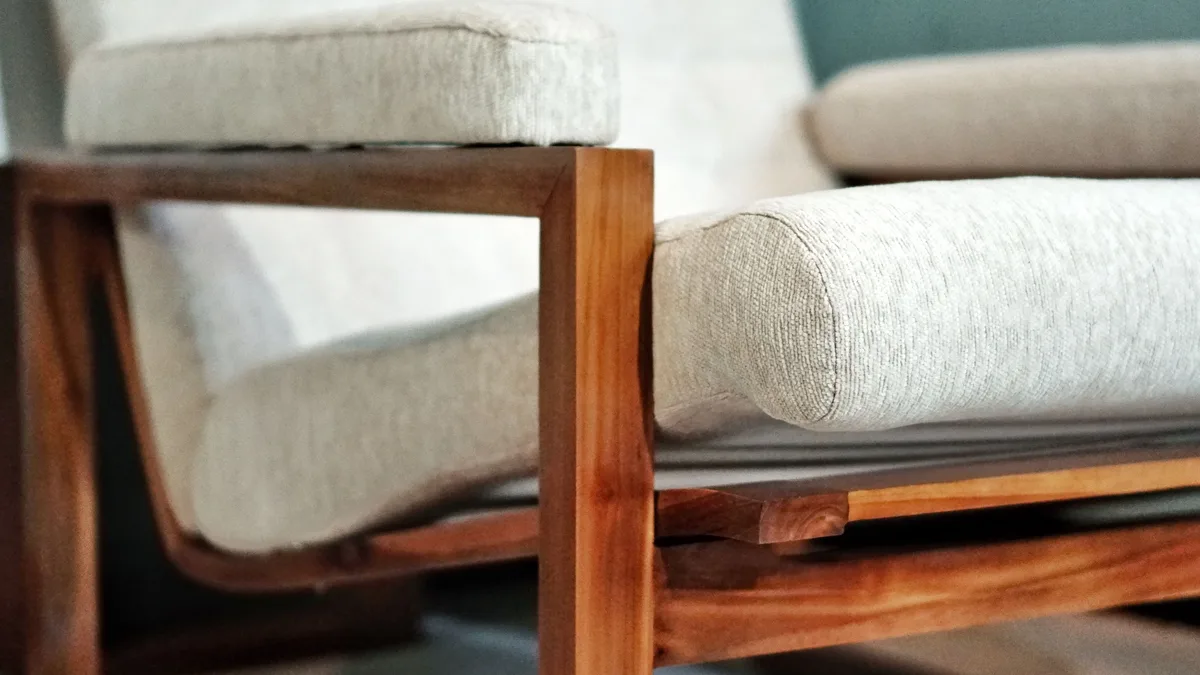
The final step after building a chair is often making the cushion. For a large armchair or Morris chair, one woodworker expresses a preference for an integral upholstery style where the leather or fabric cascades down the front and into the frame, as opposed to a box cushion that sits on top.
Supplies and Initial Setup
Required supplies include jute webbing, Dacron-style upholstery batting, and foam. The author used a 4-inch thick, high-density foam with a specification of 2743. This denotes a density of 2.7 pounds per cubic foot and an indentation load deflection (ILD) of 43, meaning it takes 43 pounds of force to compress it by one inch.
The process begins by stretching and weaving natural jute webbing across the seat frame, securing it with upholstery tacks. The foam is then traced from the seat frame and cut to size, typically with a bandsaw or electric knife. The orientation of the jute webbing is important; placing it face down creates a recess for an additional one-inch layer of foam.
Building the Cushion Form
Spray adhesive is used to secure the foam layers together and to the webbed platform. This assembly is then wrapped with two layers of high-loft polyester batting, which is stretched slightly and stapled to the underside of the seat frame. The author cautions that wrinkles in this batting layer can show through thinner final fabrics.
Sewing the cover demands careful measurement. The author prefers leather, which requires a heavy-duty walking-foot sewing machine, though lighter fabrics may work on a household machine. The main piece, or "top plate," must account for the angled seat frame and include seam allowances for stretching during installation.
A key trick for consistent results involves drawing a reference line inset two inches from the seat frame's edge. Measurements for the side strips of the cover are taken half an inch back from this line, providing a uniform target for stretching the material. "Sometimes careful measurement and cutting is the real challenge with upholstery, not just the sewing," the guide notes.
Sewing and Attaching the Cover
Only two long seams are needed to join the top plate to the side strips. The author chose to include piping as a decorative detail. This involves cutting fabric strips, encasing firm piping cord, and sewing it closed with a zipper foot. A hand stapler with a long nose is useful for temporarily holding the leather pieces together before sewing.
After sewing, the cover is fitted over the foam-wrapped form. It is stretched down to the reference marks on the seat frame, starting with temporary tacks at the center of each side for alignment. Once positioned correctly, a pneumatic stapler is used for a permanent attachment. The author advocates for an inexpensive pneumatic model over a hand-powered one for ease and consistency.
The job is finished by stapling a non-woven dust cover, like cambric or landscaping fabric, to the seat's underside. Finally, the seat is secured to the chair with screws through corner blocks, aided by ledger boards at the front and back which set the final seat angle.